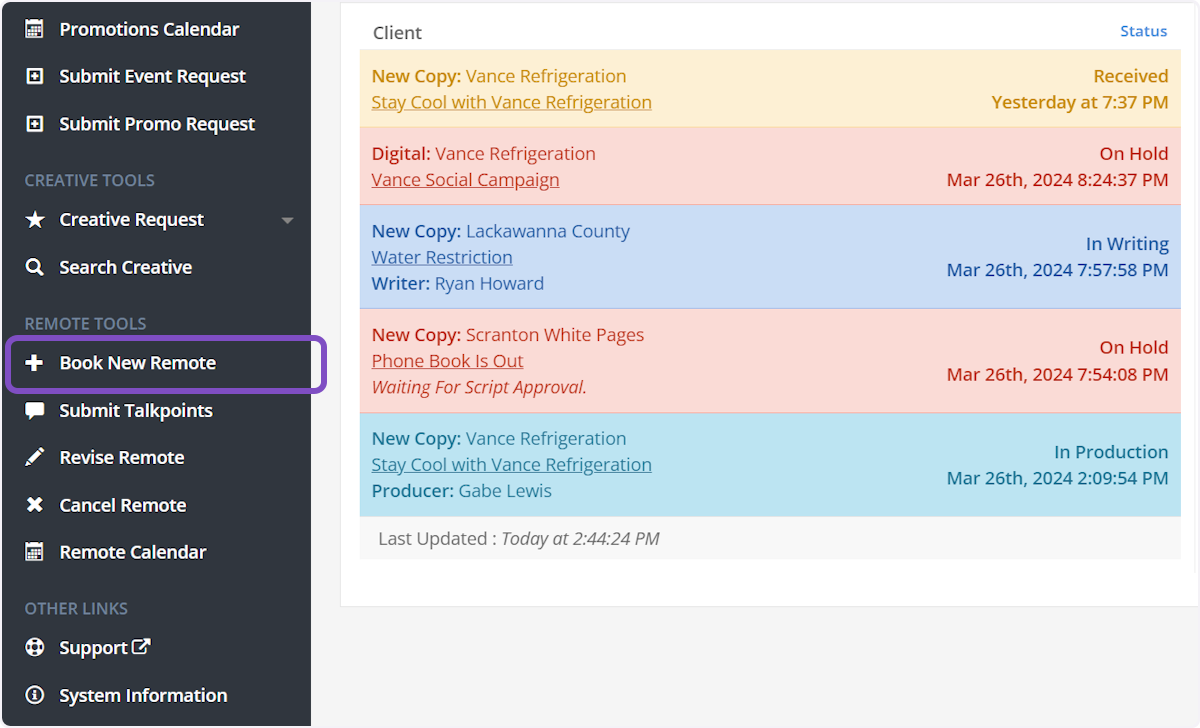
1. In the left-hand menu click on Book New Remote
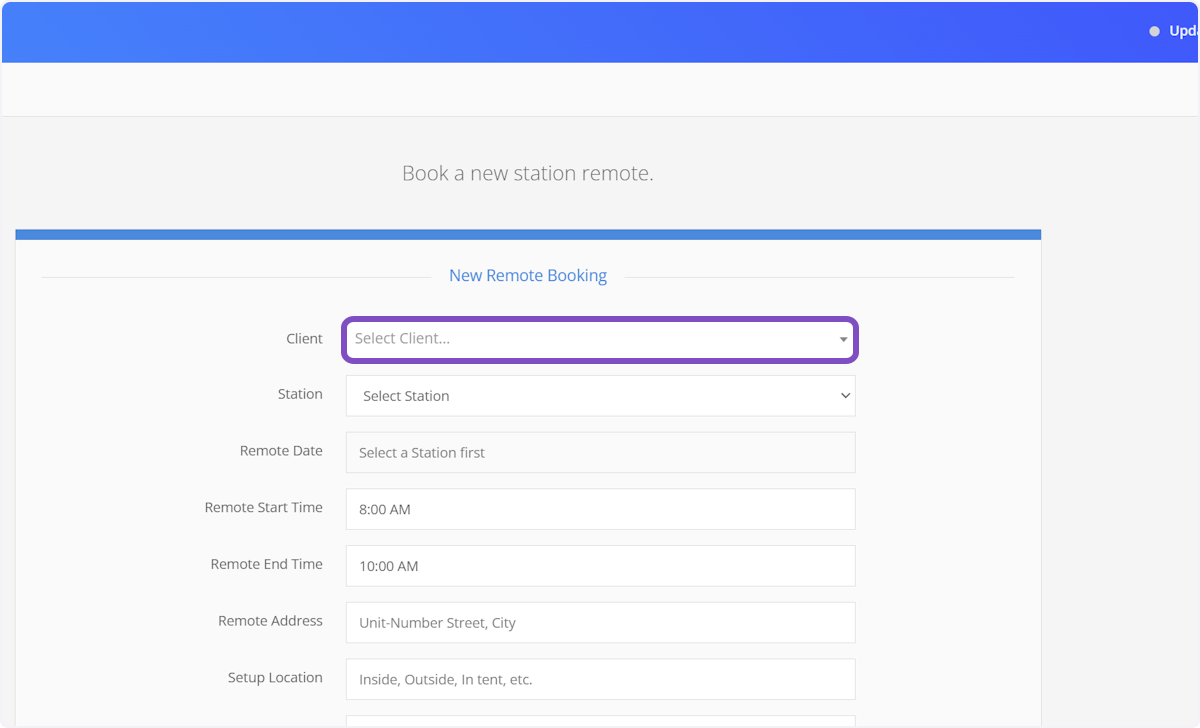
2. Click on Select Client...
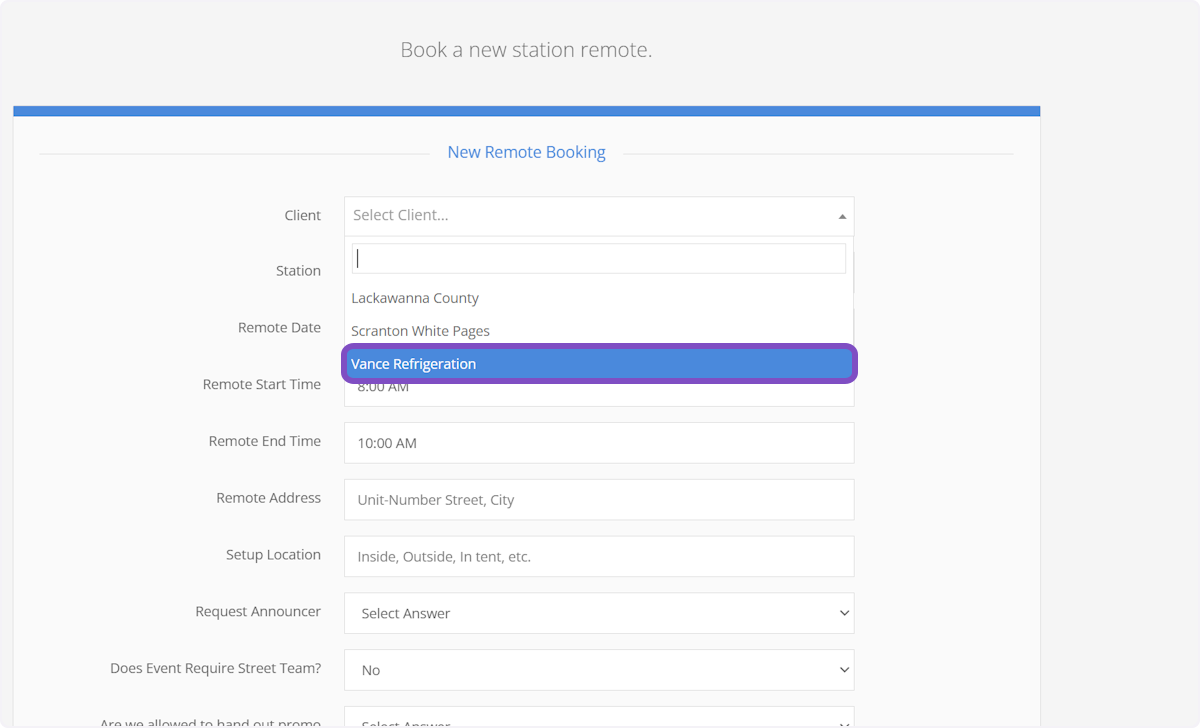
3. Select your client from the dropdown
To search the list of clients, start typing the client's name and the list will automatically update.
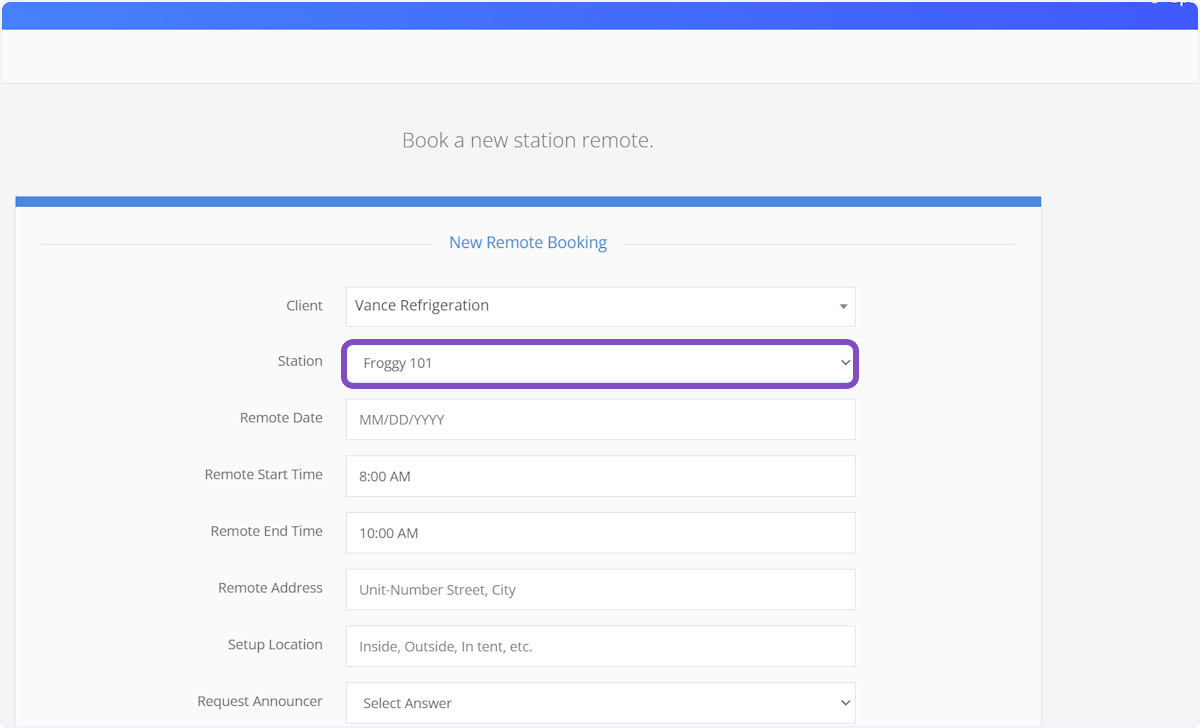
4. Select the station this remote will be on
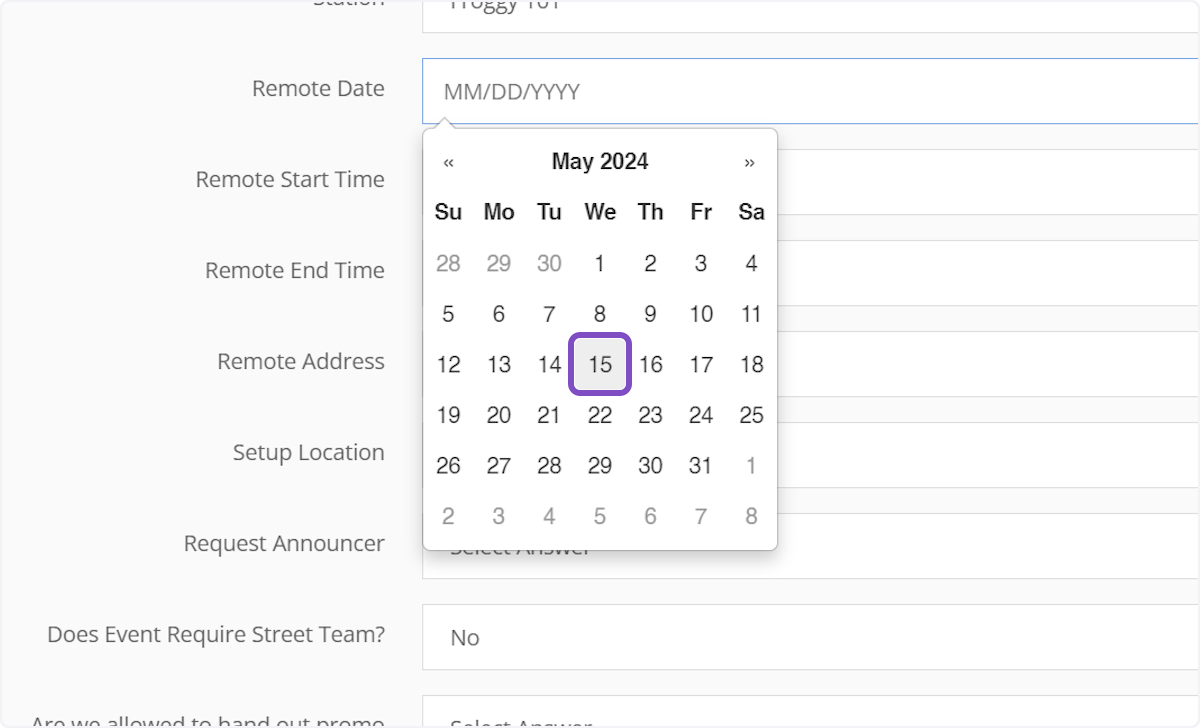
5. Click on the remote date field and select a date
Unavailable dates will be greyed out. The system will automatically adhere to remote restrictions set by the super admins. If the weekly remote limit has been reached, then the whole week (Monday-Sunday) will be greyed out. If the day has already reached the maximum number of remotes, it will be greyed out.
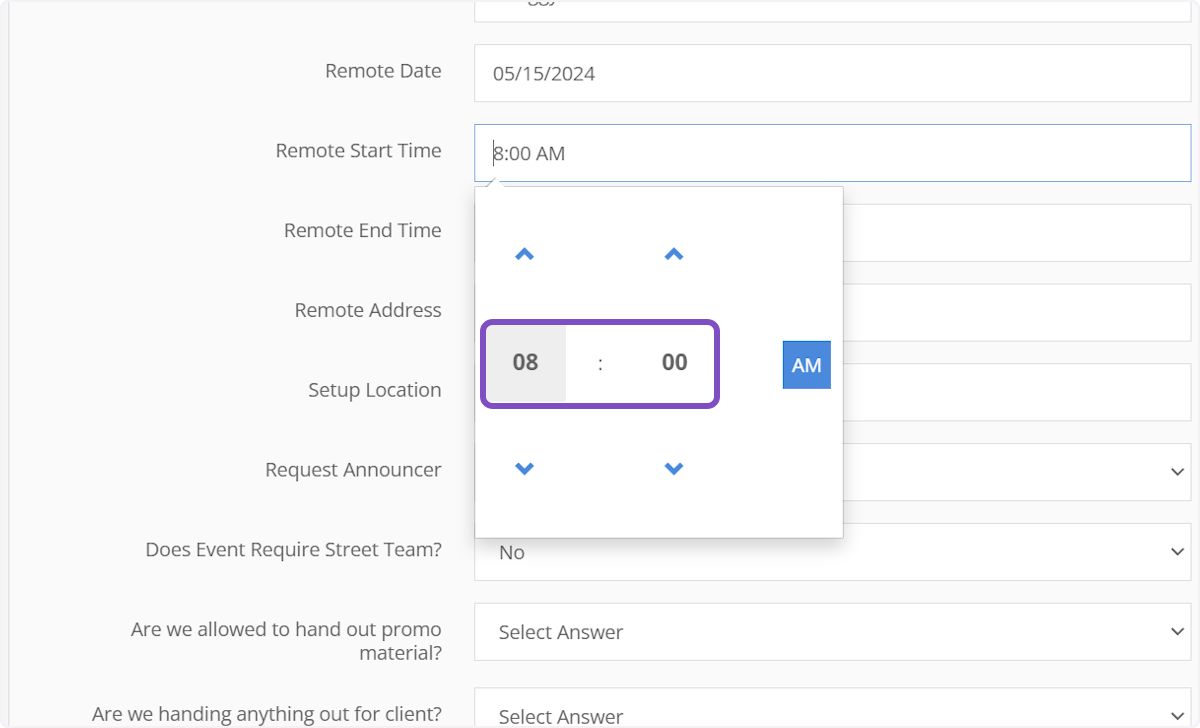
6. Select the time the remote starts
This is when the broadcast starts not when staff should arrive
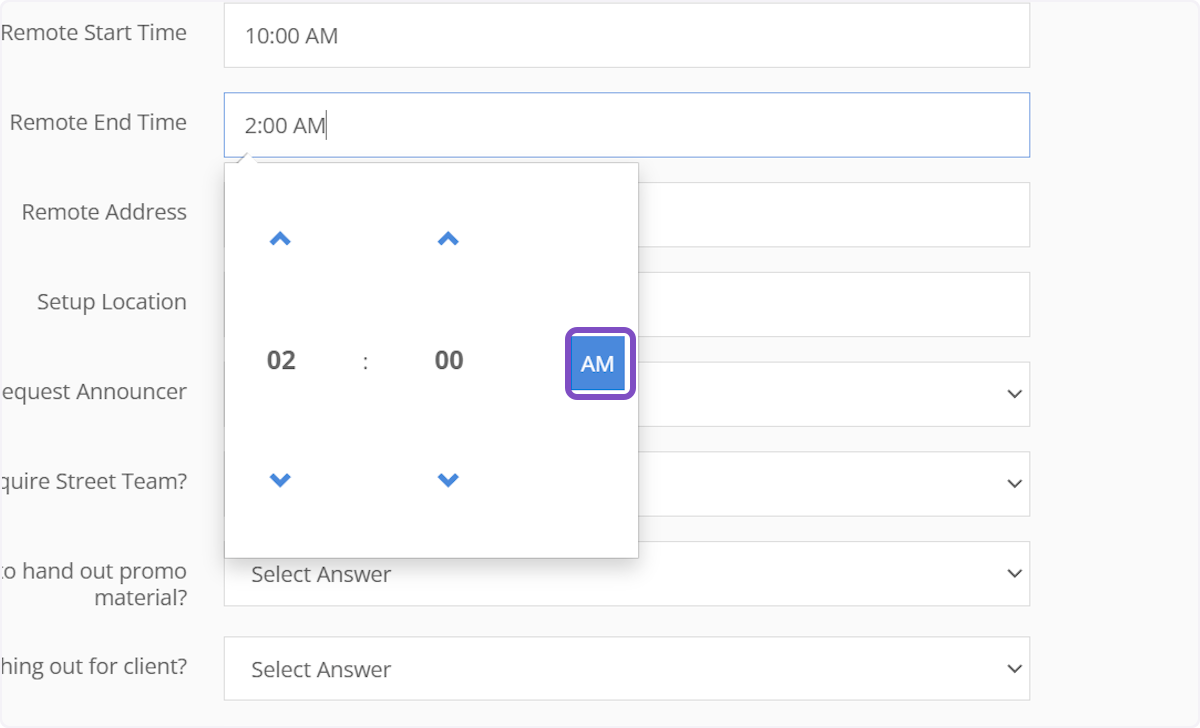
7. Select the time the remote ends
This is when the broadcast ends not when staff is scheduled to work until.
Don't forget to change AM to PM if the remote ends in the afternoon.
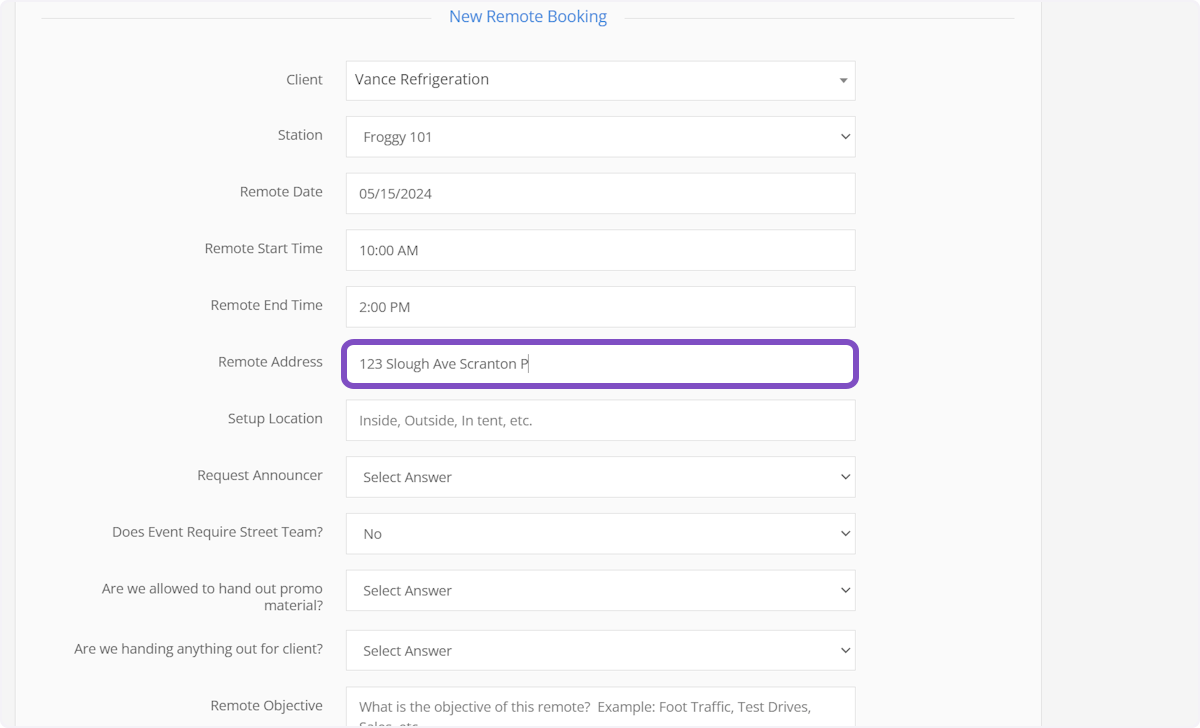
8. Type in the exact address or name of the business and the city
SPARC Media Hub uses Google Maps and the value entered will be searched in Google and populate directions for staff.
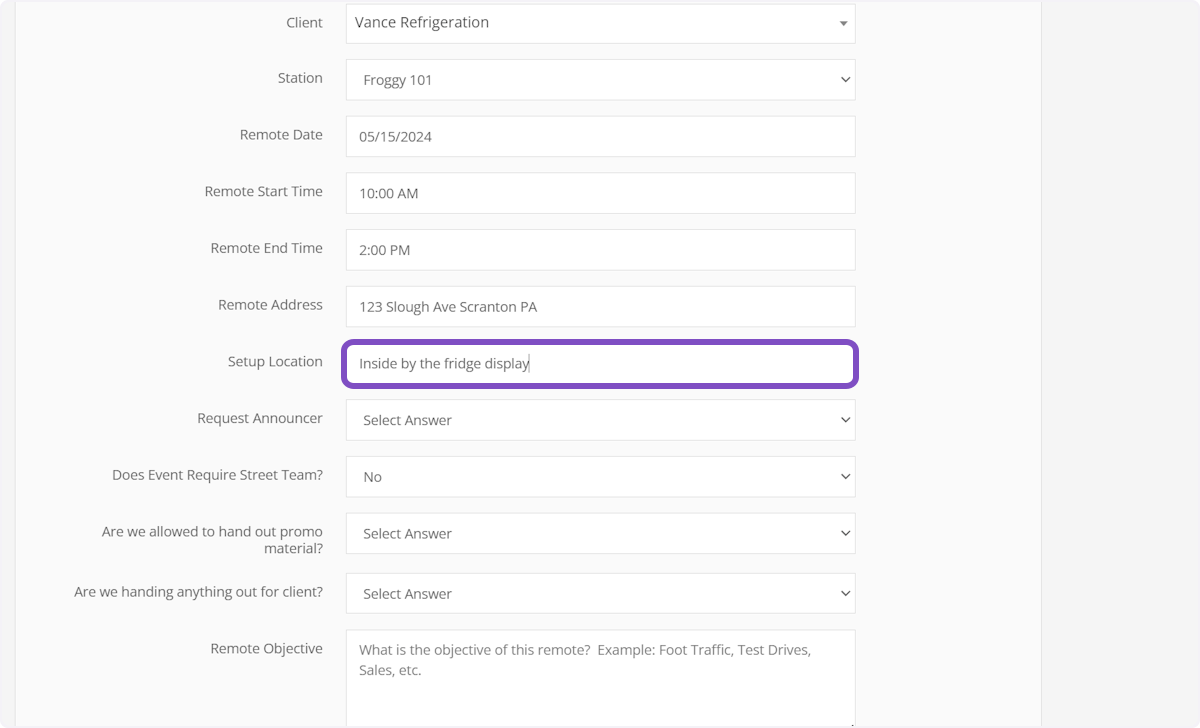
9. Provide instructions for the remote broadcast setup
This can be things such as outside, inside near the doors, or any specific location on site. If you don’t know the setup location, type something like “TBA” and you can add the information at a later time.
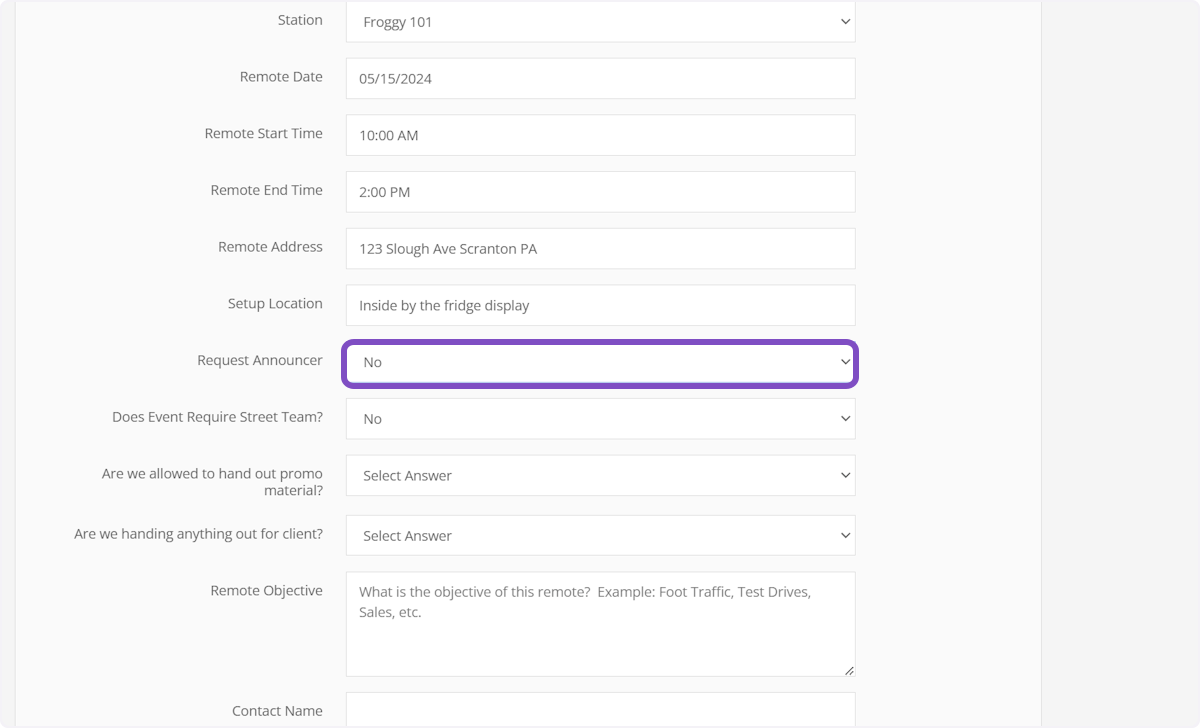
10. Request Announcer
If the client has no preference for a specific announcer, select No in the dropdown.
11. Request Announcer
If the client has requested a specific announcer, select Yes in the dropdown. This does not guarantee you will get that announcer but informs the admins that you have requested them.
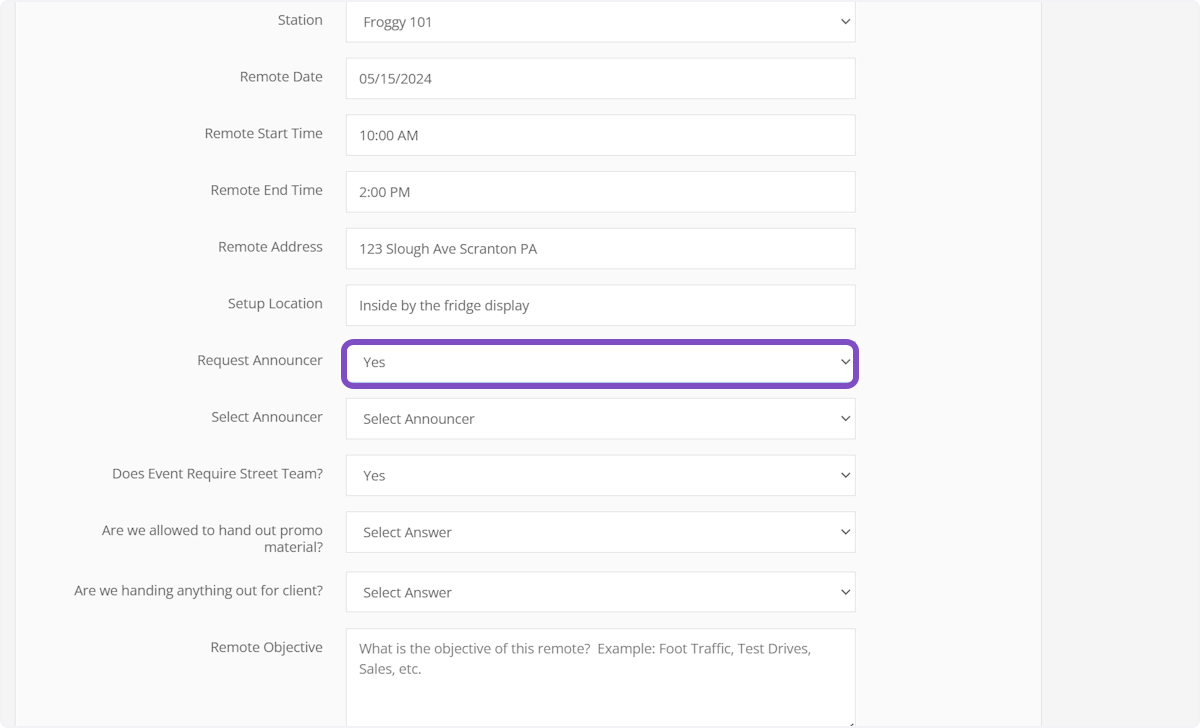
12. If you selected Yes, a new dropdown will appear, select the announcer requested in that field.
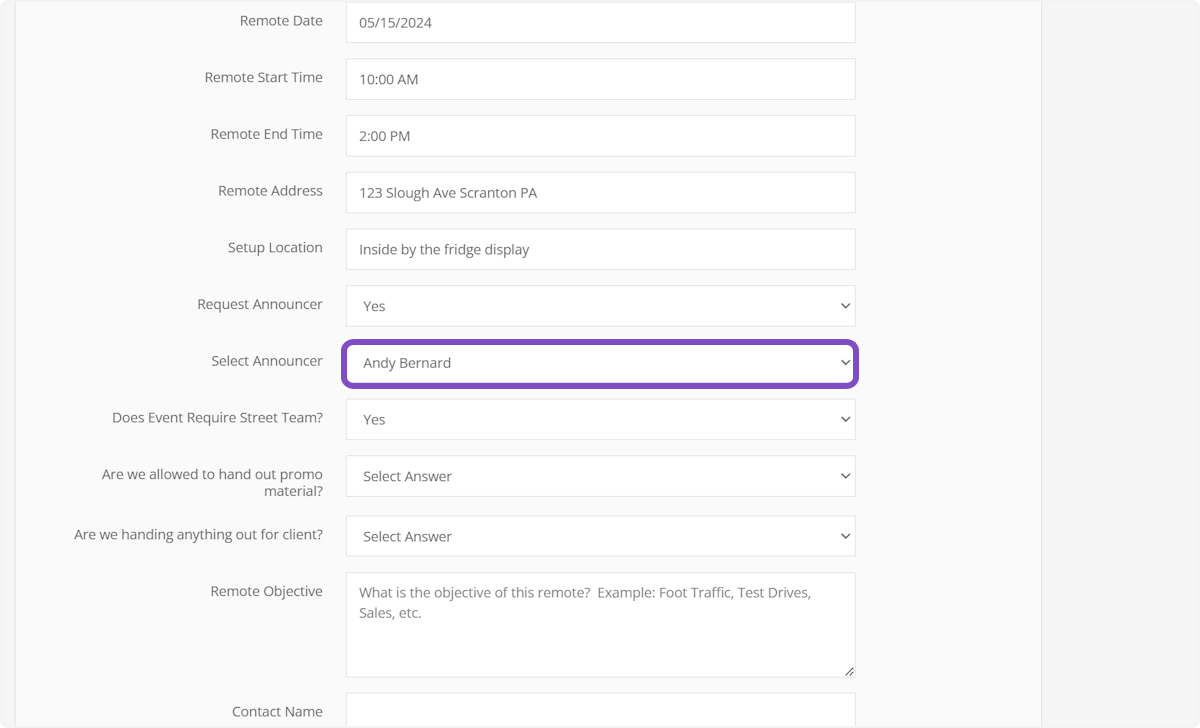
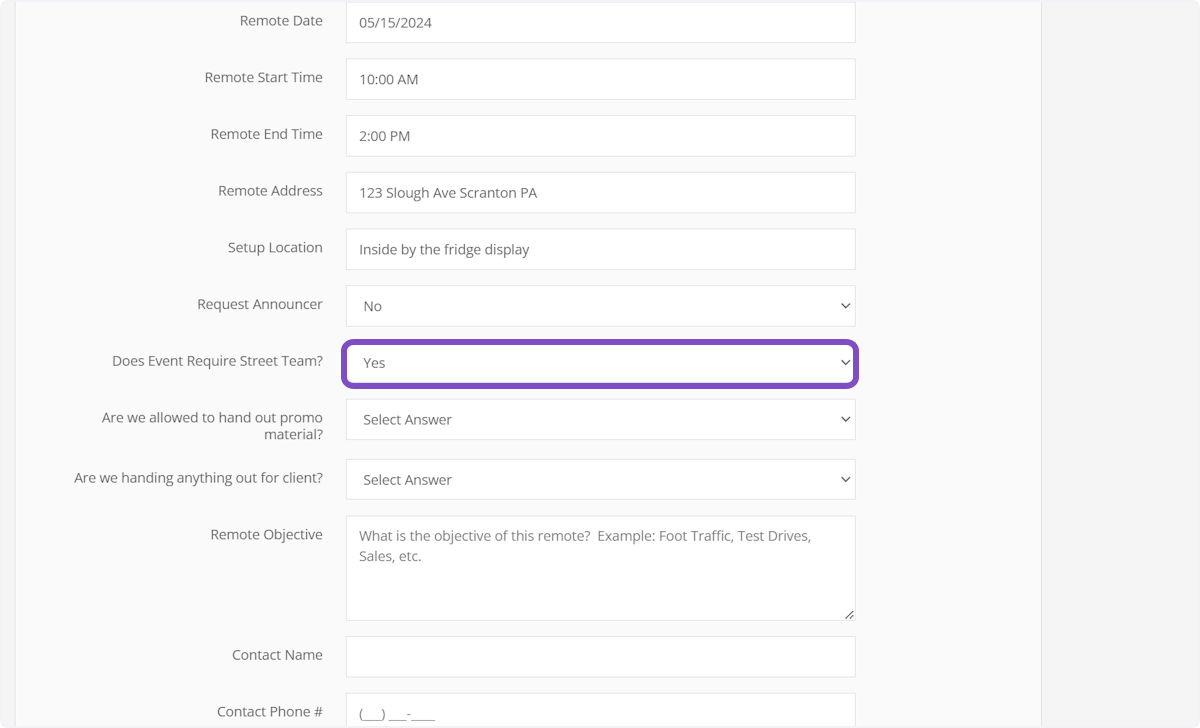
13. Does Event Require Street Team?
If you selected Yes, a station event request will be sent to promo to assign street team, station gear and so on. Otherwise, choose No.
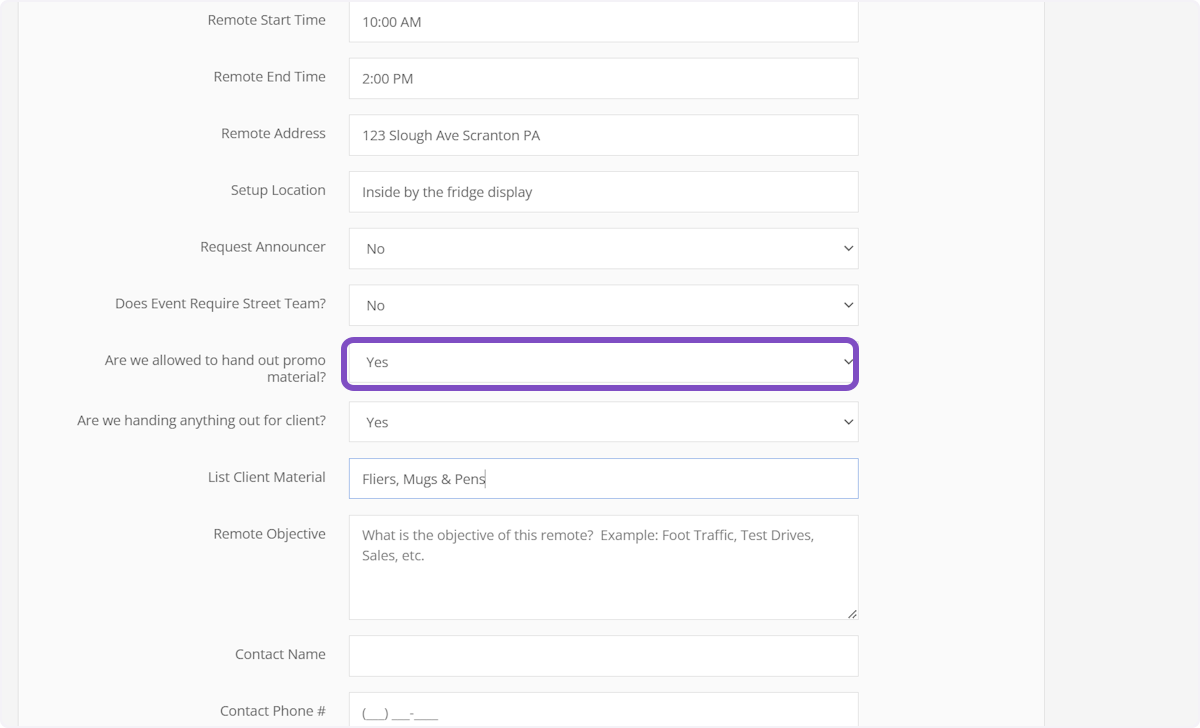
14. Are we allowed to hand out promo material?
Specify whether staff are allowed to hand out station promotional material. Some clients do not want the station to hand out stickers or other “swag”.
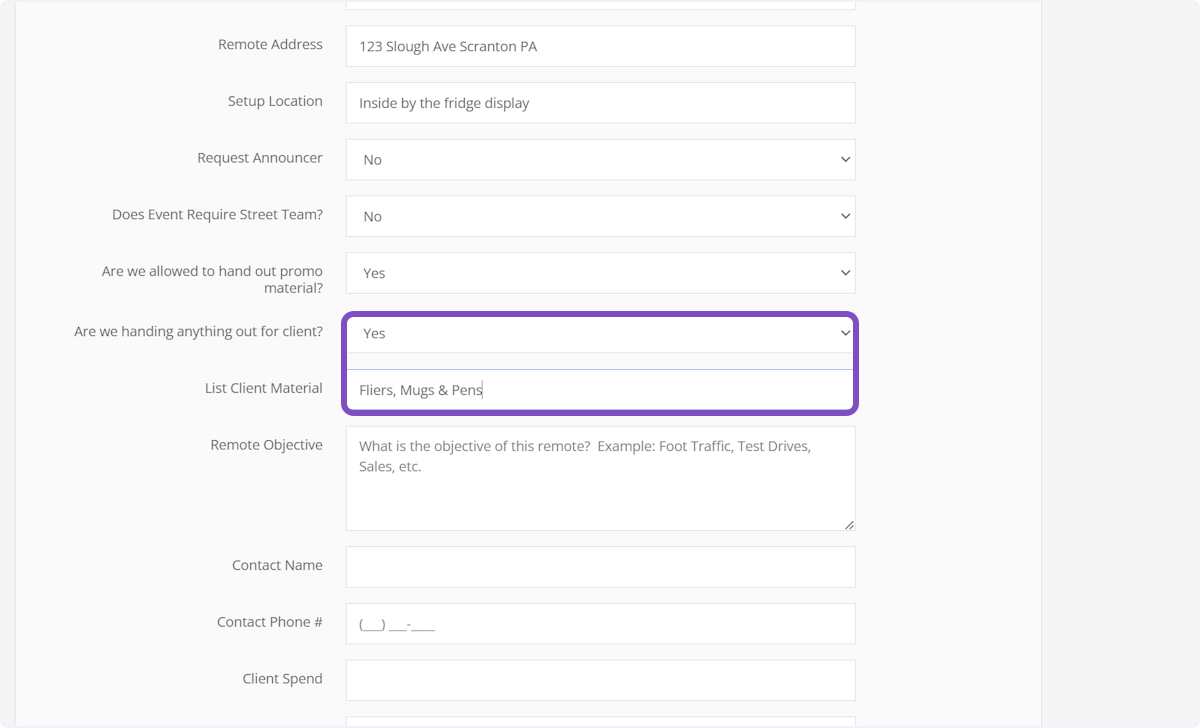
15. Are we handing anything out for client?
Are staff requested to hand out material from the client? If so, specify what material they will be handing out.
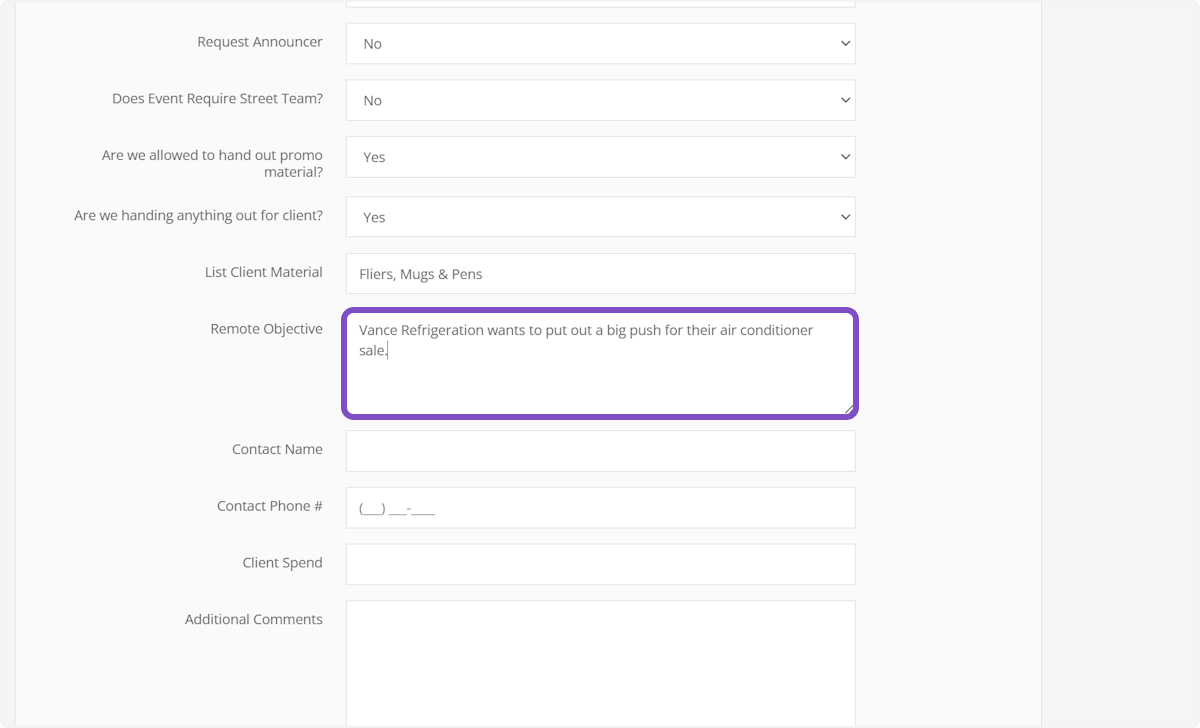
16. Remote Objective
What is the client trying to accomplish with this remote? Ex.: Increase foot traffic, test drives, sales, etc.
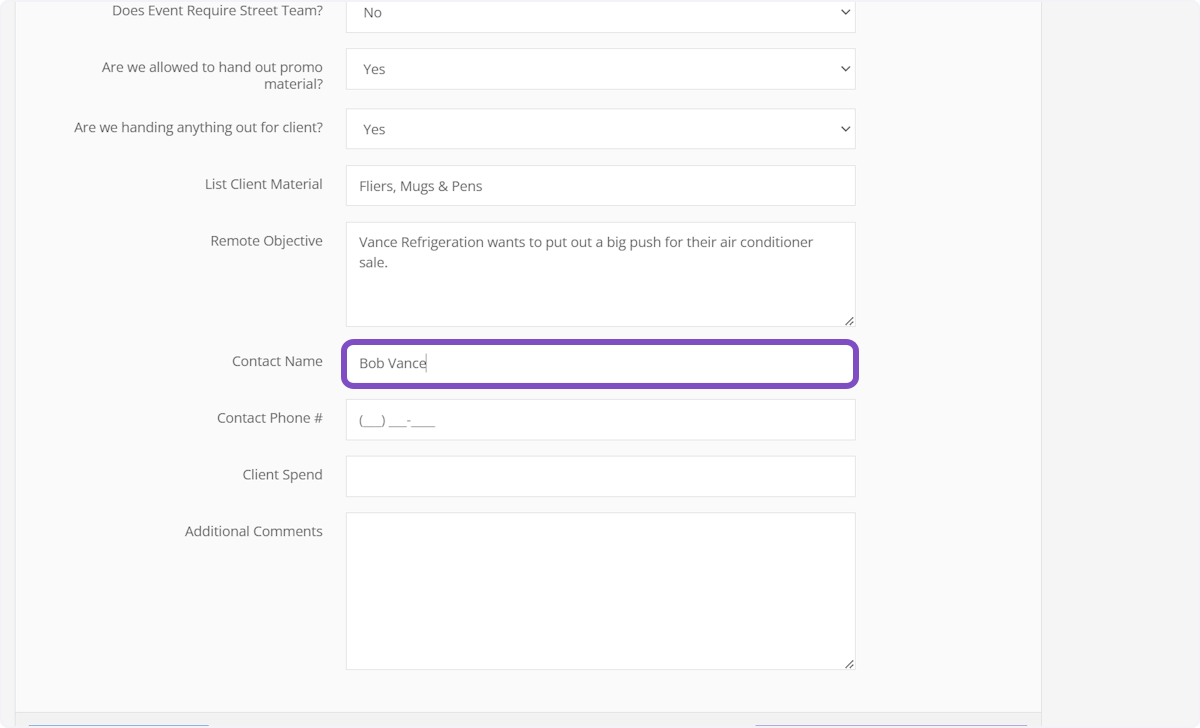
17. Contact Name
Specify the main contact of the day. This information will be made available to staff, so they know who they are looking for when they arrive.
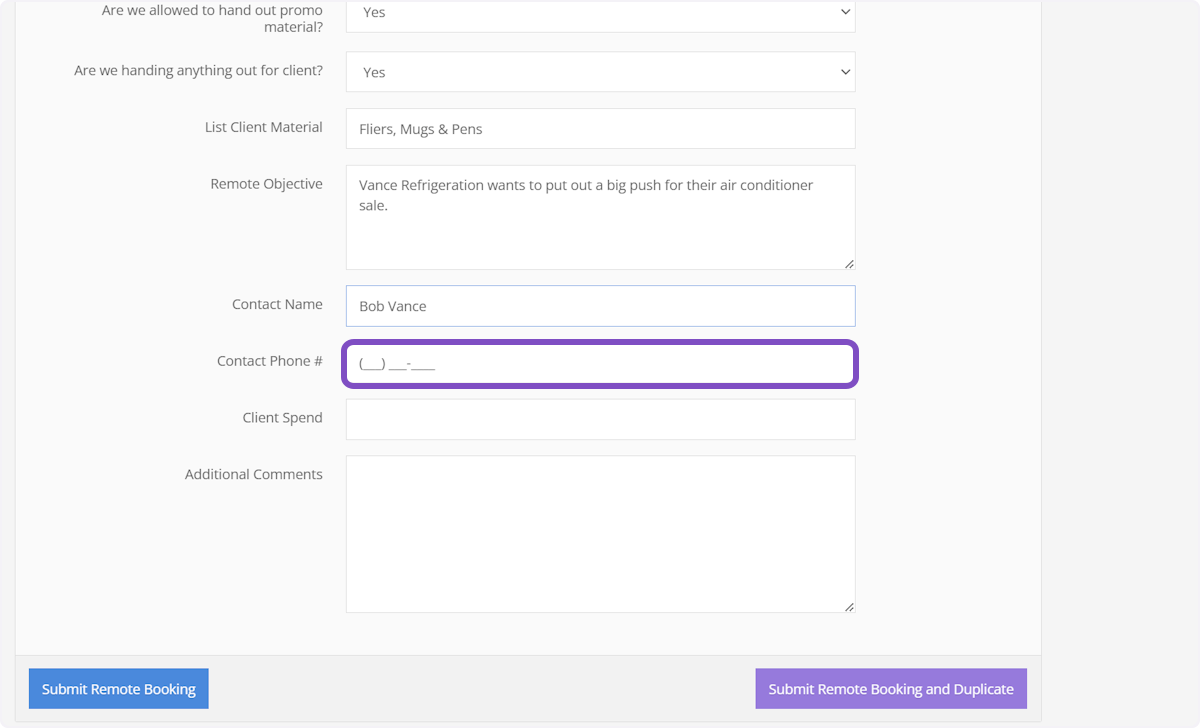
18. Contact Phone Number
Provide a phone for the contact that will be on site the day of the remote.
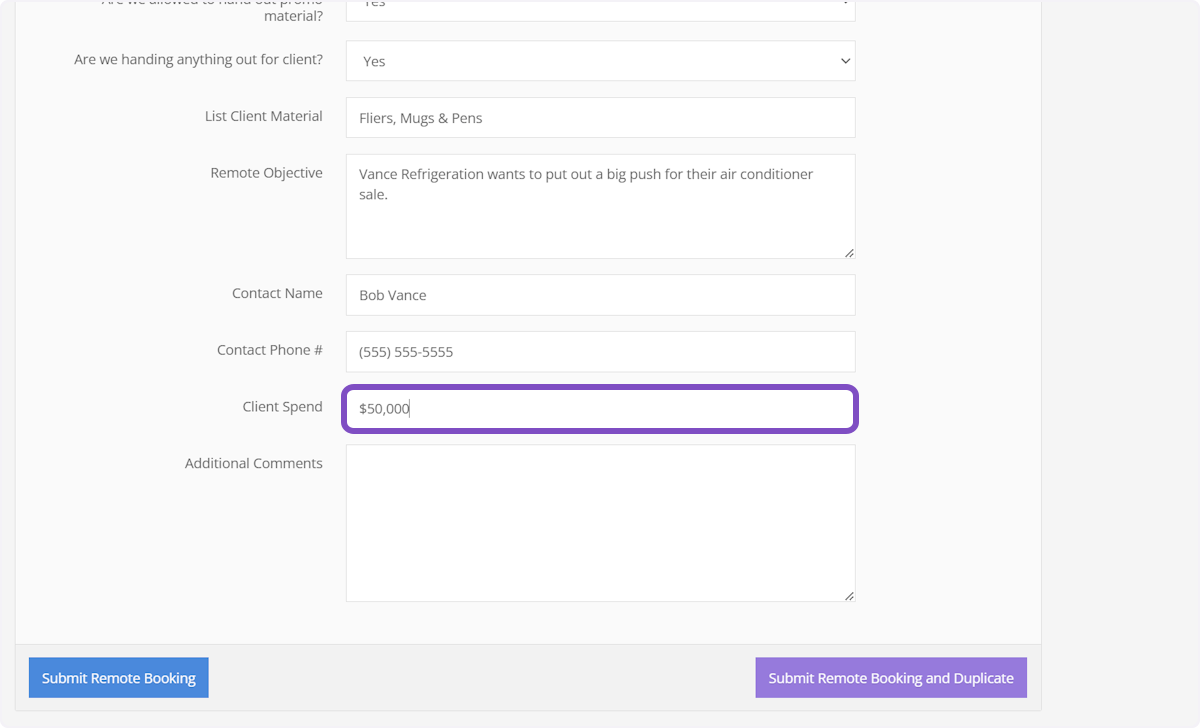
19. Custom Fields
Any additional fields after “Contact Phone Number” are “custom fields” created by your company’s admins. If you have questions about these fields contact your admins.
20. Additional Comments
The last field gives sales the option to add notes for the staff or admins about the remote.
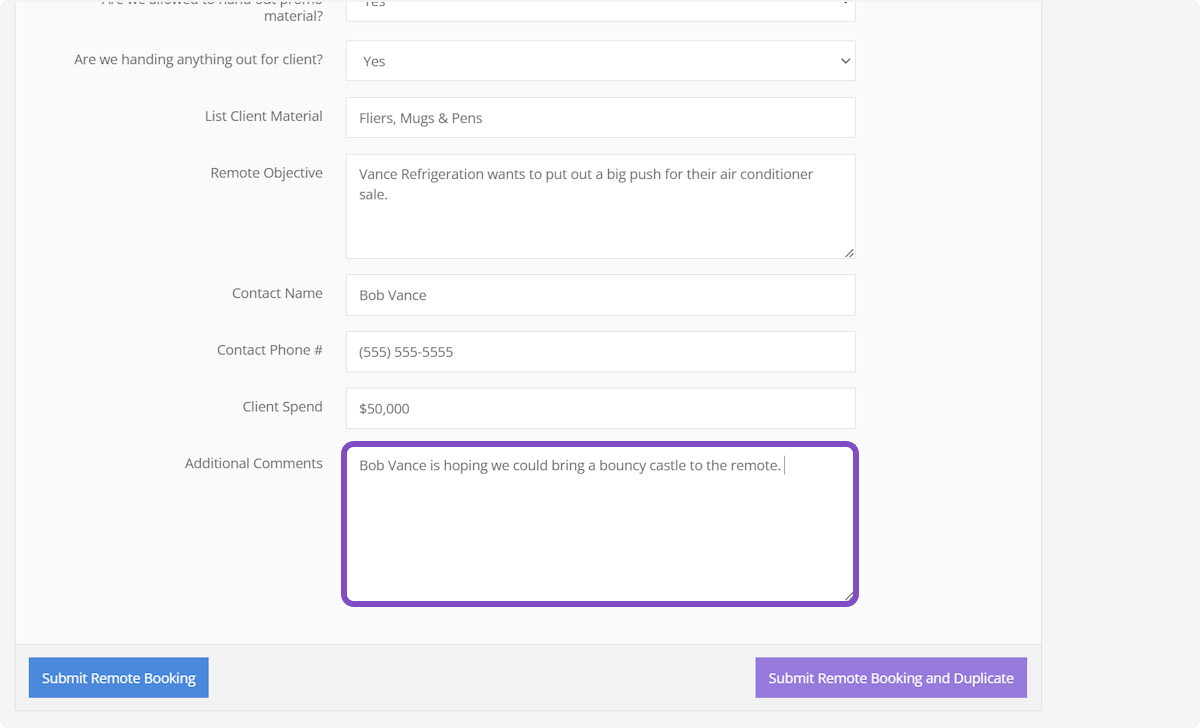
21. Click Submit Remote Booking and you're done!
Once you click "Submit Remote Booking", the remote is automatically reserved and programming receives the request and will start assigning tasks to ensure a successful remote for your client.
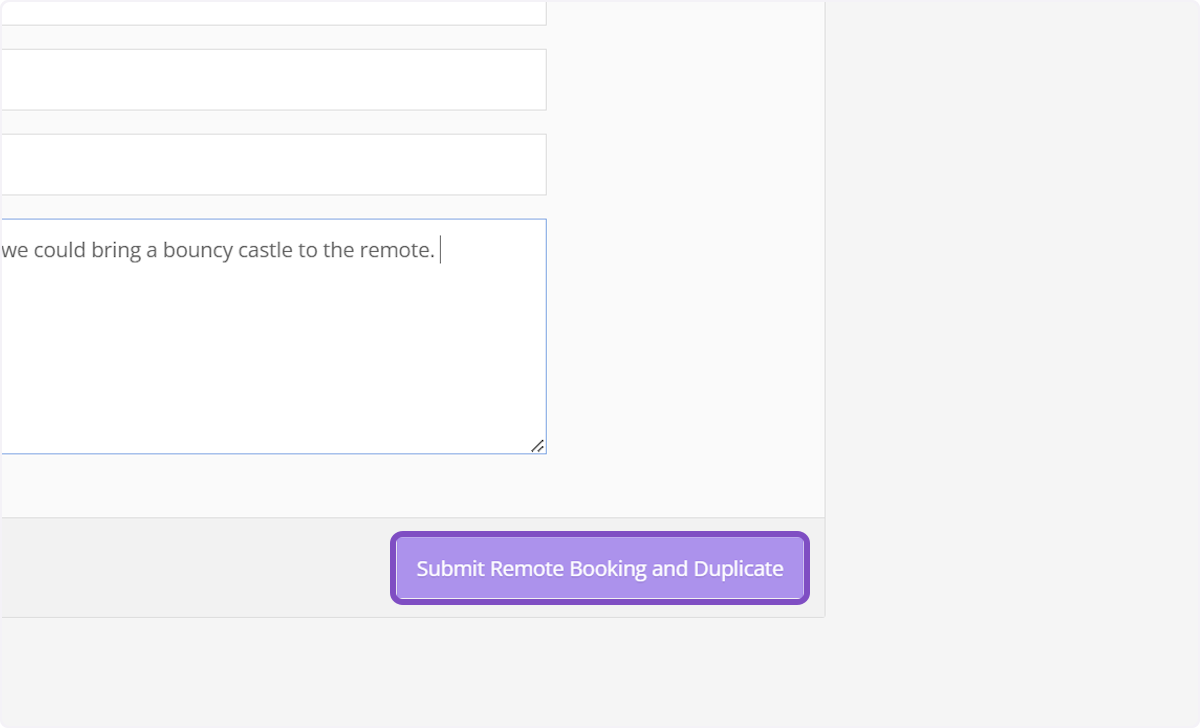
22. Remote Duplicate
If you’d like to submit this request then create an identical copy, click “Submit Remote Booking and Duplicate”. This is used when the information for a request is identical except for one or more fields. For example: Your client wants to book 3 remotes, all the information is the same except the date.
